Old Ironsides
Nominally, this is a post about restoring the clawfoot tub in the one [formerly] "working" bathroom. However, this is mostly fun facts learned from shadowing MacGyver.
 1. Convert Rust. Over the past couple weeks, we've coated the drain with naval jelly (phosphoric acid), rinsed, and scraped. This converts red rust to black rust you can sort of sand off.
 3. Cover black rust and divots with Bondo (polyester resin used for auto body work). Fun fact: Bondo can be sanded so you don't need to agonize about a smooth initial application. MacGyver used the length of a pencil to get the drain patch acceptably flush. It's stinky, but dries in 15 minutes which is about how long you need to prep splash guards for spray painting.


Fun Fact: MacGyver does not make shopping lists... Belle makes them and arranges them roughly by Home Depot aisle location.
- Sponge
- Brasso
- Gasket rubber (we had to buy a generic reddish sheet and cut to fit)
- Tough Tile Tub & Tile Refinishing Kit (includes TSP, gloves, 2 pads steel wool, 2 cans of paint)
- Naval Jelly
- Bondo
- Painter's paper
- Painter's tape
- Box o' rags
- Sand paper (220)
- Utility knife
- Cylinder o' pencils
- Pipe wrench
- Dremmel
 1. Convert Rust. Over the past couple weeks, we've coated the drain with naval jelly (phosphoric acid), rinsed, and scraped. This converts red rust to black rust you can sort of sand off.
 2. Clean tub & disconnect fixtures. This involved a bottle of TSP (trisodium phosphate) and sponge. You probably want to avoid eye contact with The Lorax at this point. We also discovered our gasket for the overflow drain was in bad shape. Fun fact: fixtures can still work like hoses when disconnected to help rinse the tub... but if you've disconnected your overflow drain, you probably don't want to fill the tub to clean it...
 3. Cover black rust and divots with Bondo (polyester resin used for auto body work). Fun fact: Bondo can be sanded so you don't need to agonize about a smooth initial application. MacGyver used the length of a pencil to get the drain patch acceptably flush. It's stinky, but dries in 15 minutes which is about how long you need to prep splash guards for spray painting.
 4. Protect surfaces you don't want to get hit with paint. MacGyver intervened in my fraught hand-ripping paper to line the floor routine. You can balance the roll of paper on a towel rack, cut with utility knife, and tape a protective bib to the sides of the tub which you didn't plan to paint. You can also protect your copper drain by covering it with painter's tape, cutting around it, and peeling off the excess.

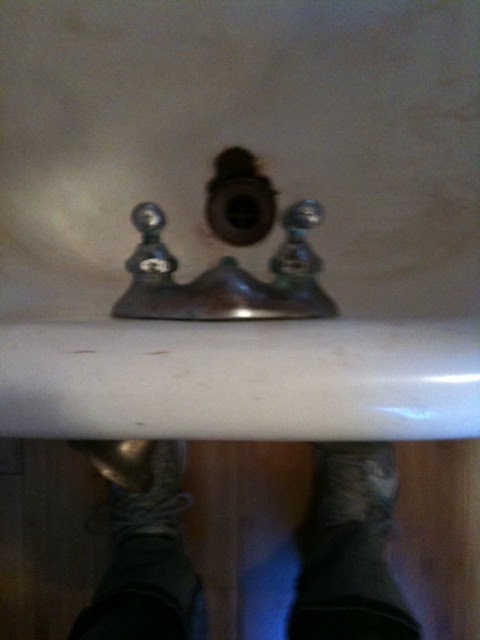
5. Sand the bondo smooth and spray first coat with your refinishing kit can of epoxy white paint. Drips are bad. Rags in a box are the undo button. Spend the 15 minutes it needs to set on sanding/dremmelling/brassoing the green residue off the faucet fixtures. Fun Fact: some paint can be burned off with a blow torch (see: light fixtures). This is not that kind of paint.
6. Apply second coat. Realize you still have ample paint left over to refinish nasty kitchen sink. Repeat steps 1-5.


7. Realize you need to wait 72 hours before using either kitchen sink or tub. Wish you had taken MacGyver up on that last call for baths...
Labels: Bathroom, clawfoot tub, Home Restoration, Victorian Home Restoration
posted by Bellepic at
9:34 AM
![]()

0 Comments:
Post a Comment
Subscribe to Post Comments [Atom]
<< Home